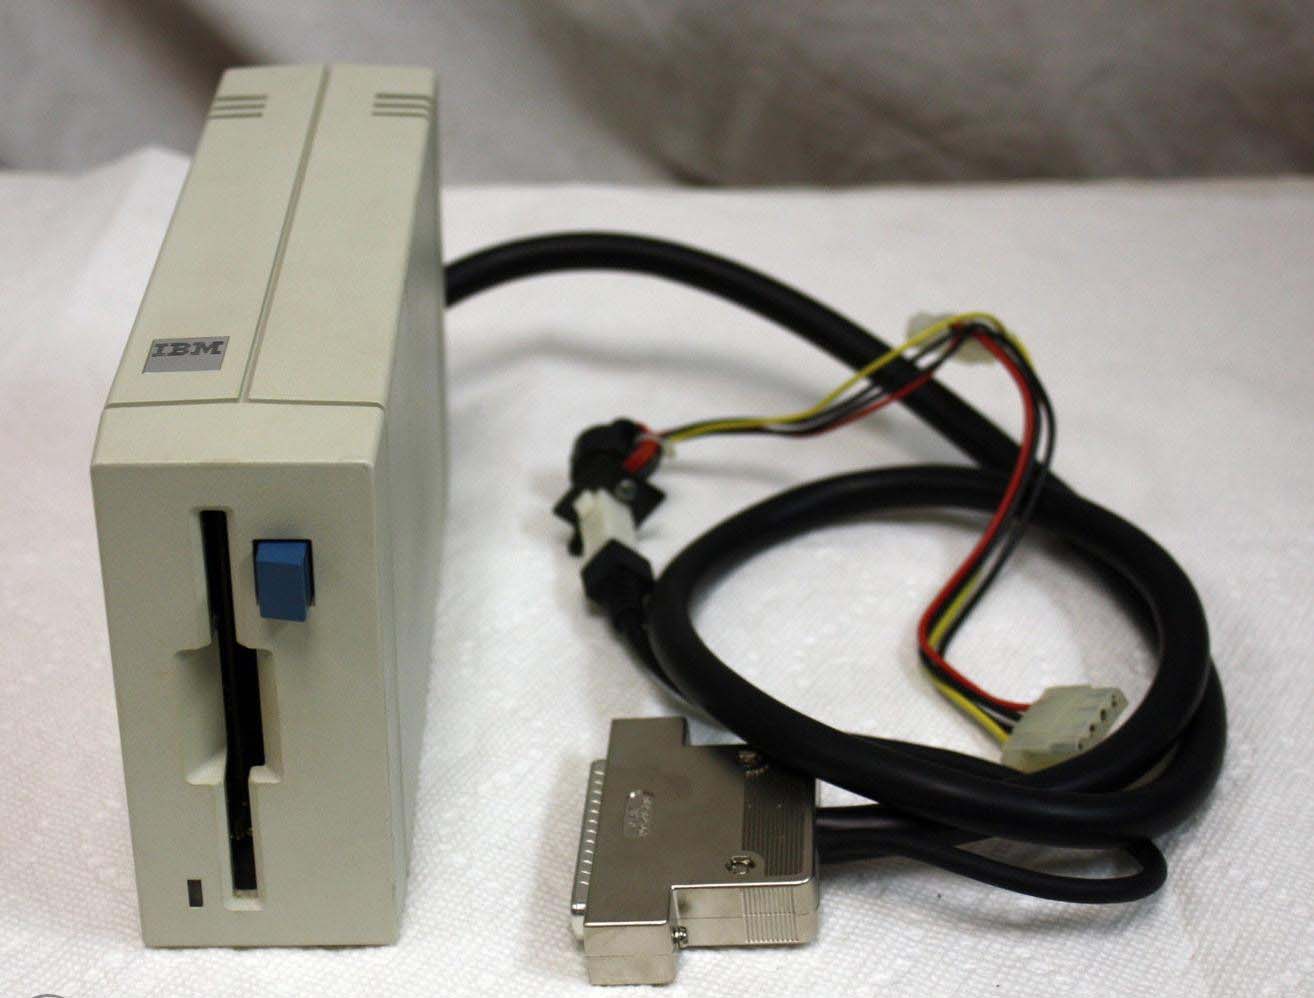
A while back I purchased a IBM 4865 external 720k floppy drive for my IBM 5160. The seller sold it as untested so I took a chance and purchased it. The drive came missing the molex power cable. I managed to hack one together by copying the wire paths from a picture on eBay.
I had power to the drive and it seemed to be able for format floppy disks also read/write to them but when I put those floppy disks in another computer I would only get a sector error when reading them. Likewise when I tried an original software title (720KB) in the drive I could not read it. Time passed … and I could not find any information online to solve this problem.
The other day I was searching for drives and I found on Vogons someone had posted the same problems, but with a fix. Aligning the drive using ImageDisk alignment and a screwdriver. Sure enough after some bounce back and forth questions on the forum I got my drive working perfectly. I now have a working IBM 4865 drive on my IBM XT. 🙂
Here’s the process in case the post is not available anymore. Please proceed at your own risk. Kudos to the two chaps who helped me get this working over on Vogons link.
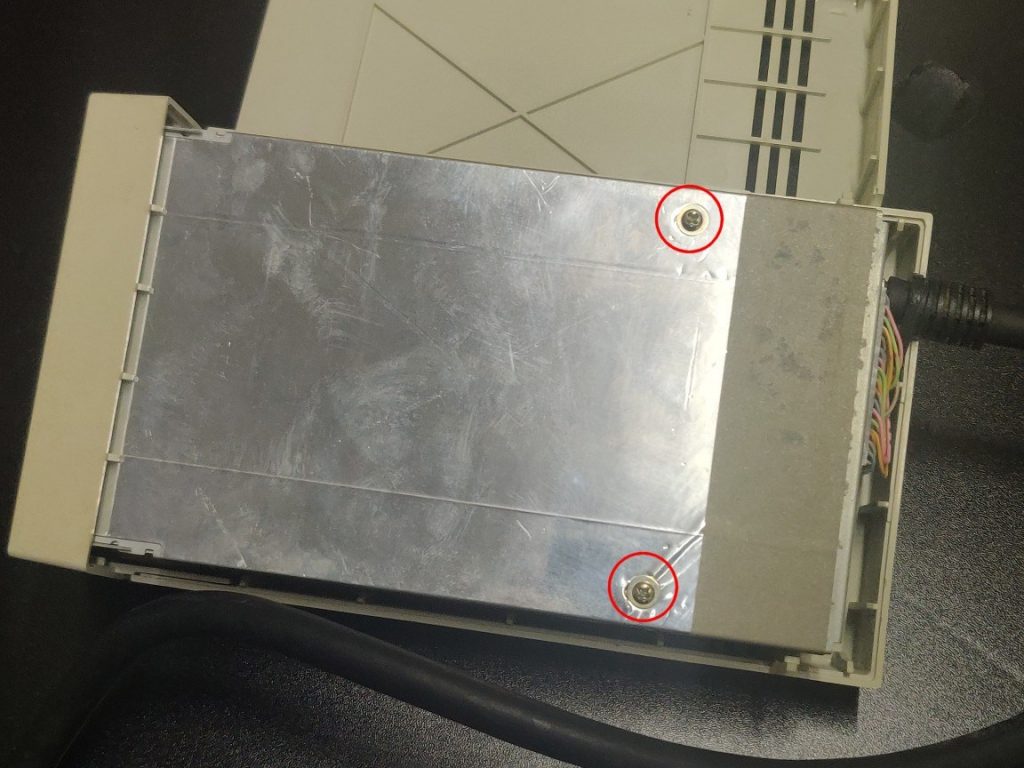
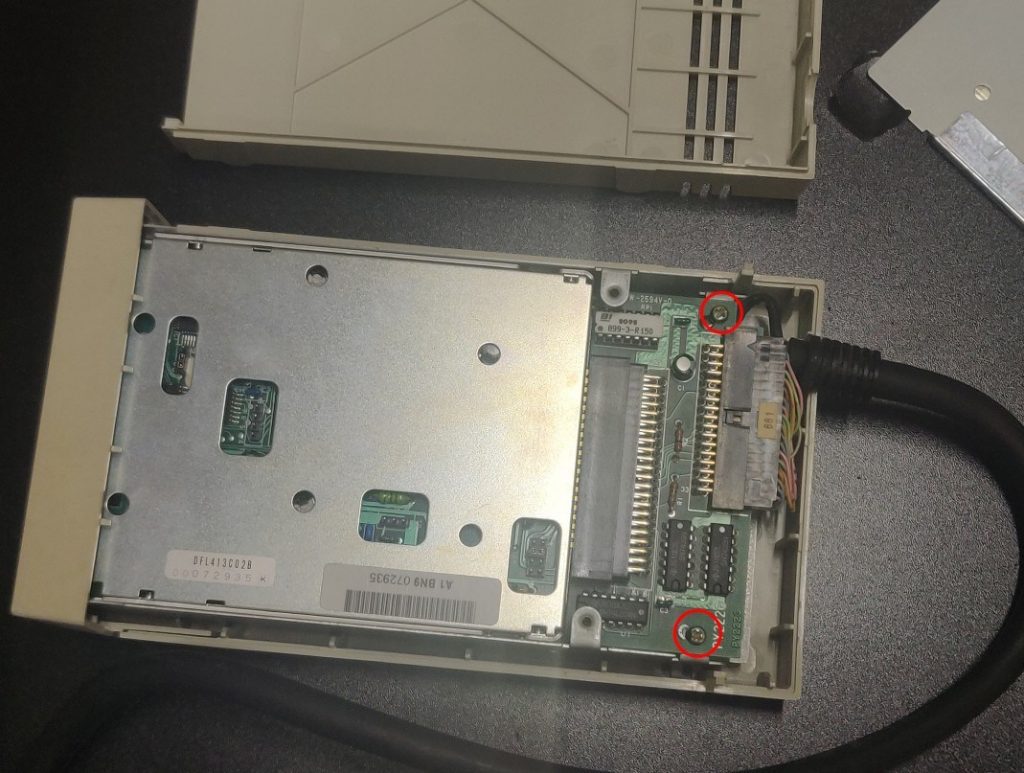
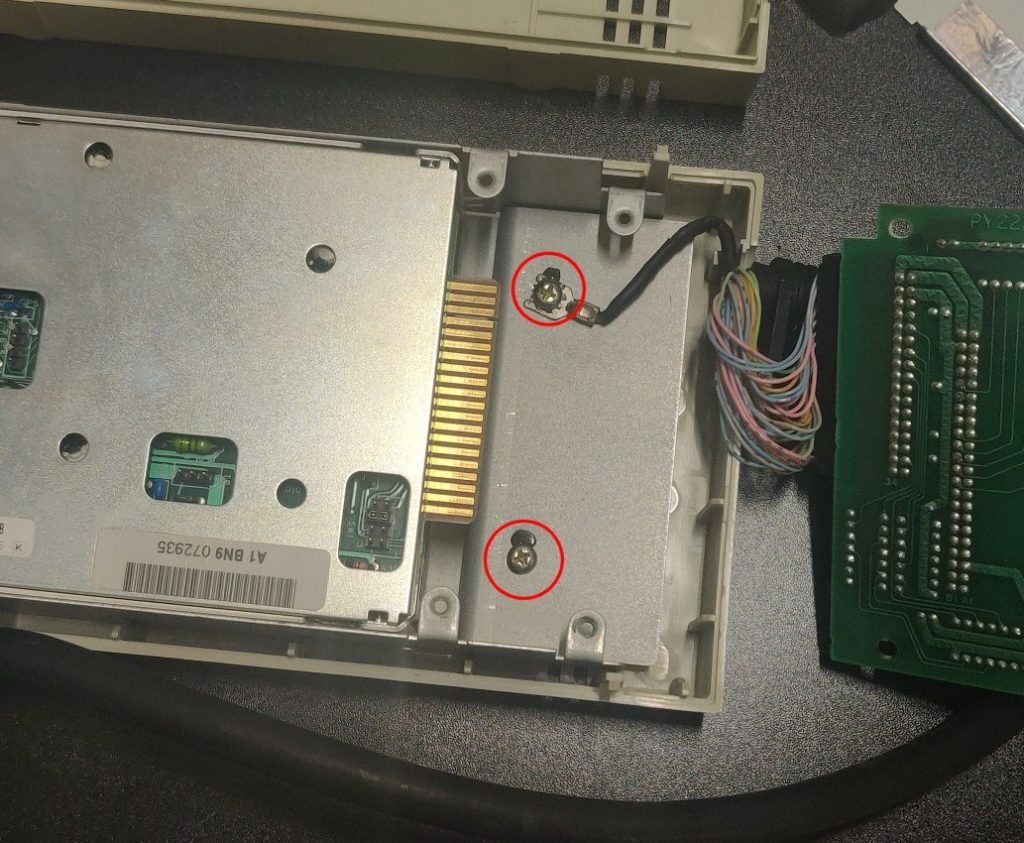
4865 disassembly part 1:
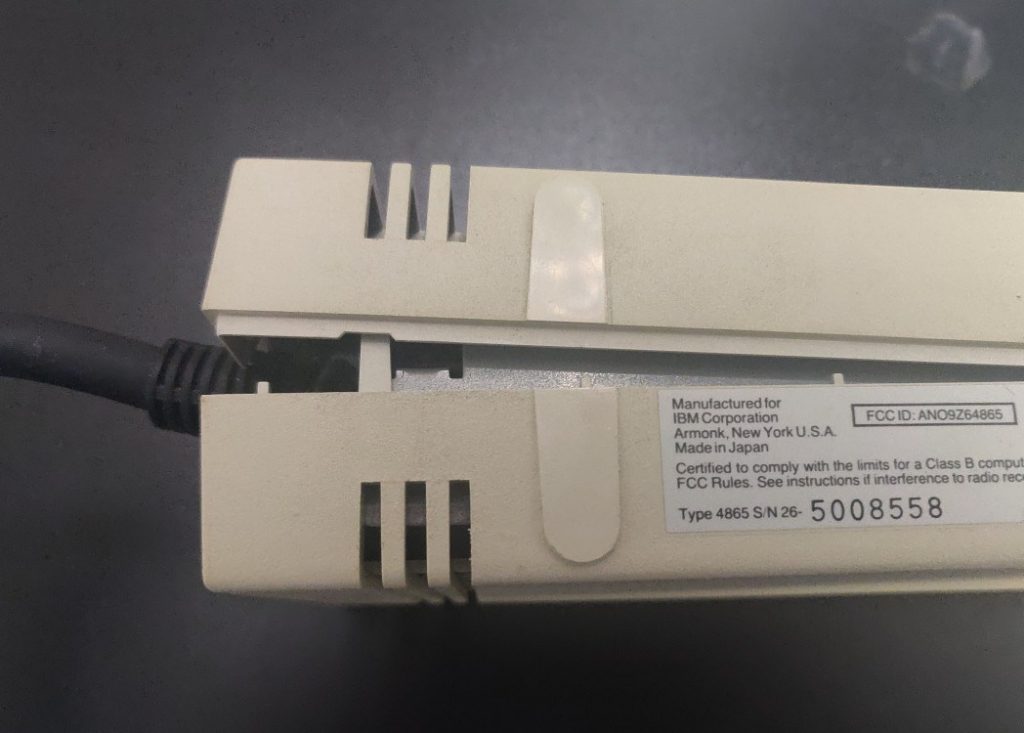
A small clip can be seen through the rear vent slots on each side of the drive. Use a small screwdriver or similar to gently press one clip in, while using your other hand to pry the two halves apart (fingernails work, or you could use a pry tool). Then do the other side.

Remove the enclosure cover, then these two screws to remove the metal cover.
Now remove the screws from the adapter board. Unplug the 34 pin connector to be able to free the cable from the case, and then remove the board from the drive edge connector. (Note: I didn’t unplug the 34 pin connector in these pics as you don’t HAVE to in order to get the cable out, but it makes it easier and you will need to unplug it for reassembly later too).
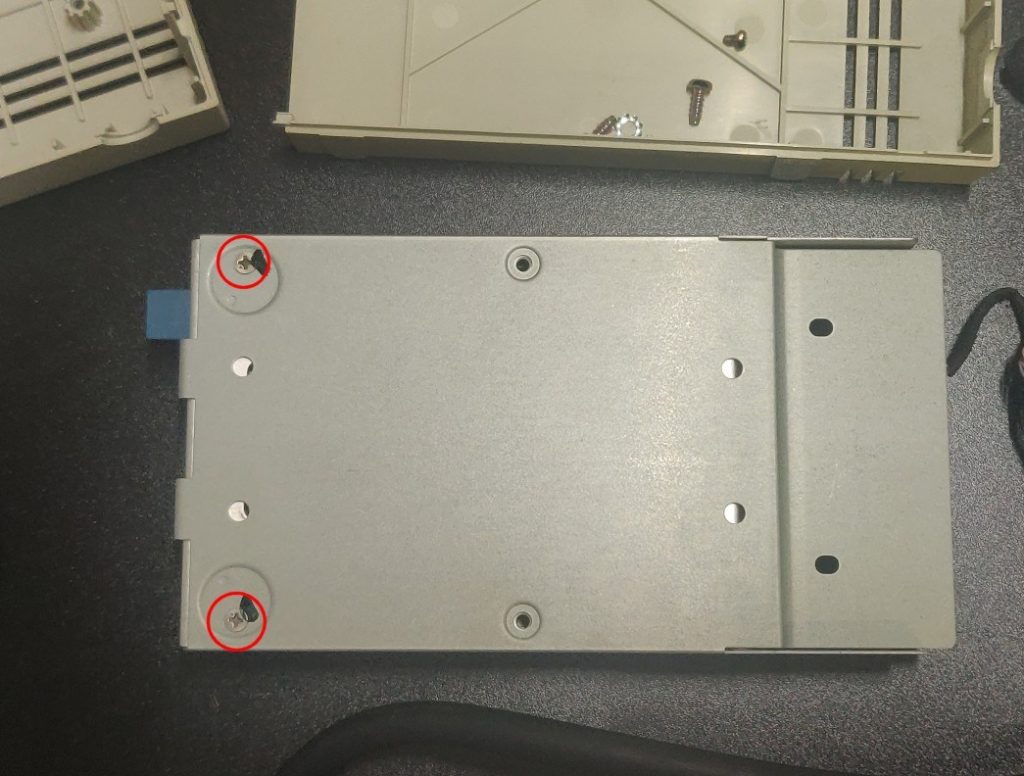
Finally, remove the two screws holding the drive into the case and the cable shield wire. Remove the cable and drive from the enclosure.
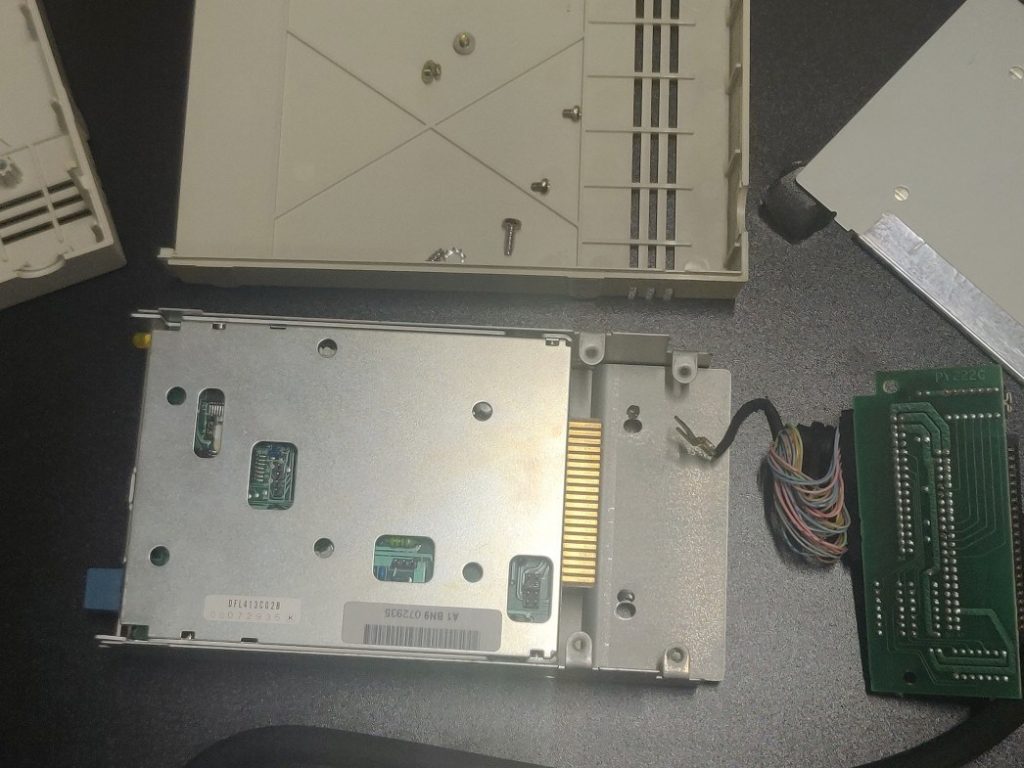
4865 disassembly part 2:
This is how it looks with the drive removed.
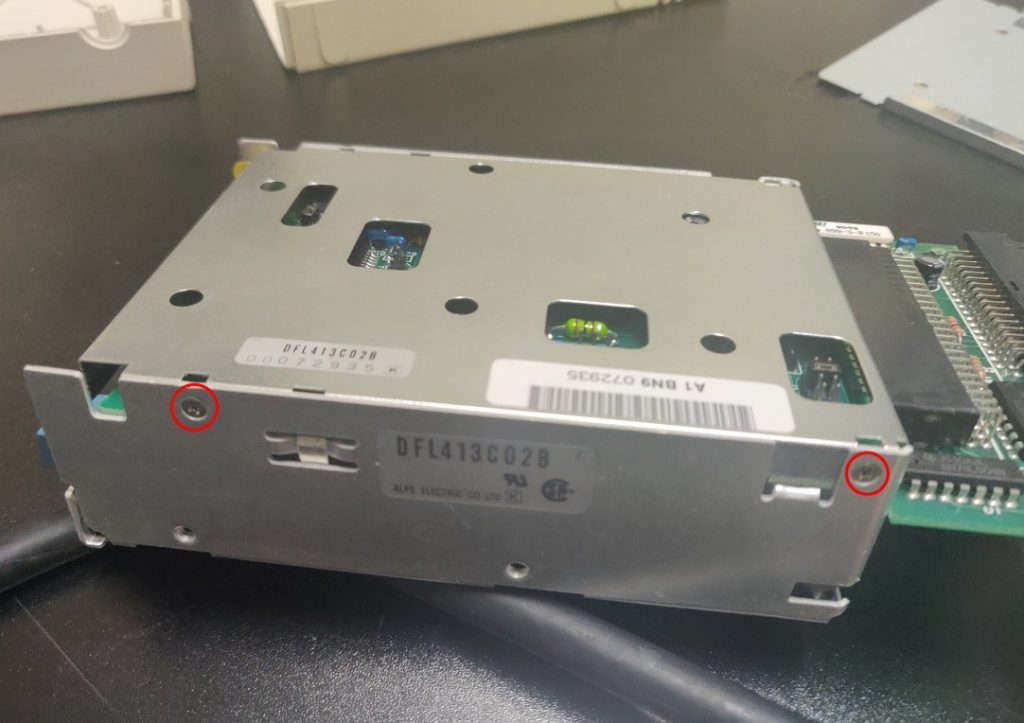
Flip it over and remove these two screws holding the drive in the metal bracket.
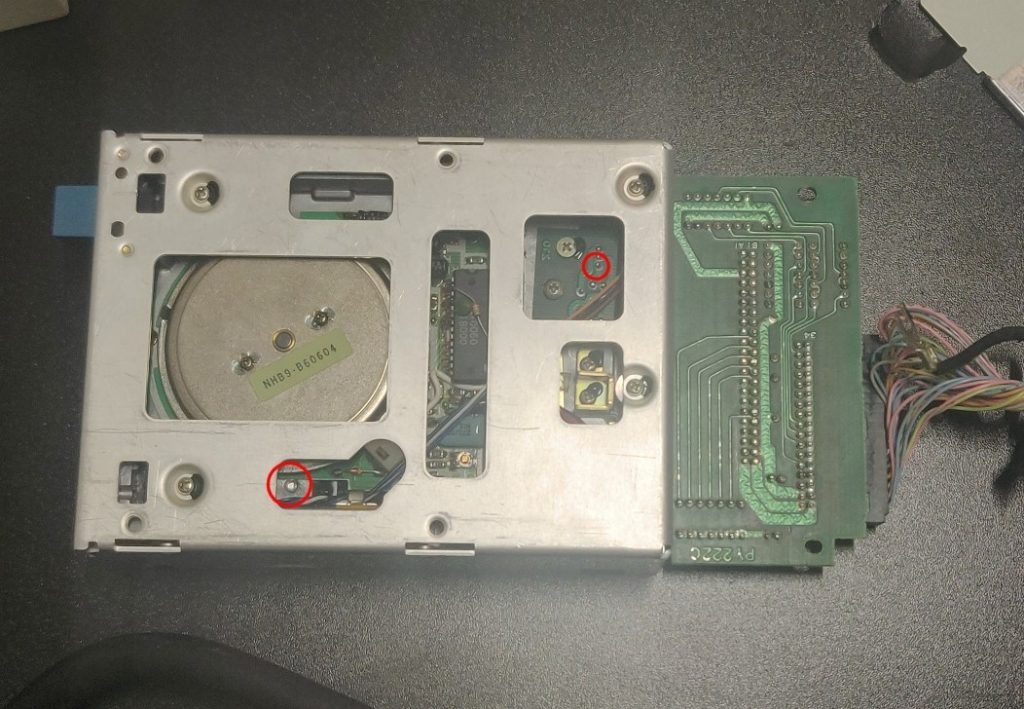
Now you can plug the cable and adapter back in and proceed to using IMD to do the alignment. These are the two points of interest. The conical adjustment screw is marked, along with the solder point at which you can measure voltage when adjusting the track 0 sensor. (But I’d really advise leaving that alone unless you really need to adjust it)
Final note…
If you need to clean/lube the worm gear shaft or heads etc, you need to remove these screws (2 on each side) to remove the top plate. Then there are some wires to carefully unplug, and a couple more screws to remove the top circuit board.
With the drive out and connected to my IBM XT I fired up ImageDisk using the /4 parameter so it detects the external drive. Under settings you must select the external drive. In my case (my 5160 has two 360kb floppy drives and 1x hard disk) I needed to select drive C, even though in my autoexec.bat Im using it as drive D:
Note: IMD doesn’t care about DOS drive letters whatsoever. Even though the choices in the menu are “A, B, C, D” what that really means is unit number 0, 1, 2, 3 on the selected controller. It uses the primary FDC by default but you can use a secondary FDC (located at port 370) by starting the program with the switch /S. If your controller has support for 4 physical drives (like the IBM FDC included with the PC and XT) you can start the program with the switch /4 to enable the menu choices of “C, D” which again, mean units 2 and 3. If you plug a unmodified 4865 into a unmodified IBM FDC card, it will be unit 2.
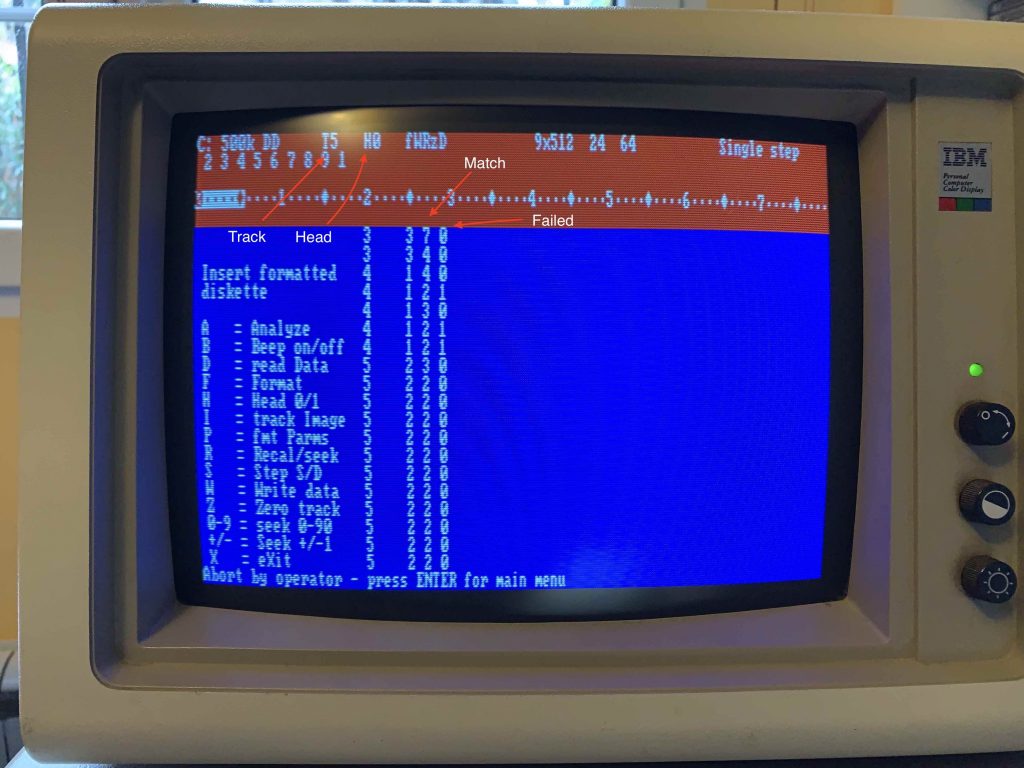
To align your disk it’s recommended to use an original 720kb floppy, ie an original game/program disk. Once you have the alignment running start on track 0 and see if you get the same number coming up in the match column. What you are looking for is 0 failed and 18 in the match column. Change track by pressing + and see if this is the same for each track. I started at track 40 where I was getting no matches and all fails and slowly turned the alignment screw on the drive until I started receiving matches on that track. Then I test all other tracks to make sure I was getting the same results. Its quite tricky and you have to do a lot of trial and error. Even though I was getting perfect results on all tracks in ImageDisk I did find that I had to re-adjust after testing the disk on another machine as if I formatted the floppy on a working drive it would not work 100% on my IBM drive. I guess this was the fine tuning an oscilloscope would detect. In the end with slight adjustments I did get it working perfectly.
IBM 4865 References: link
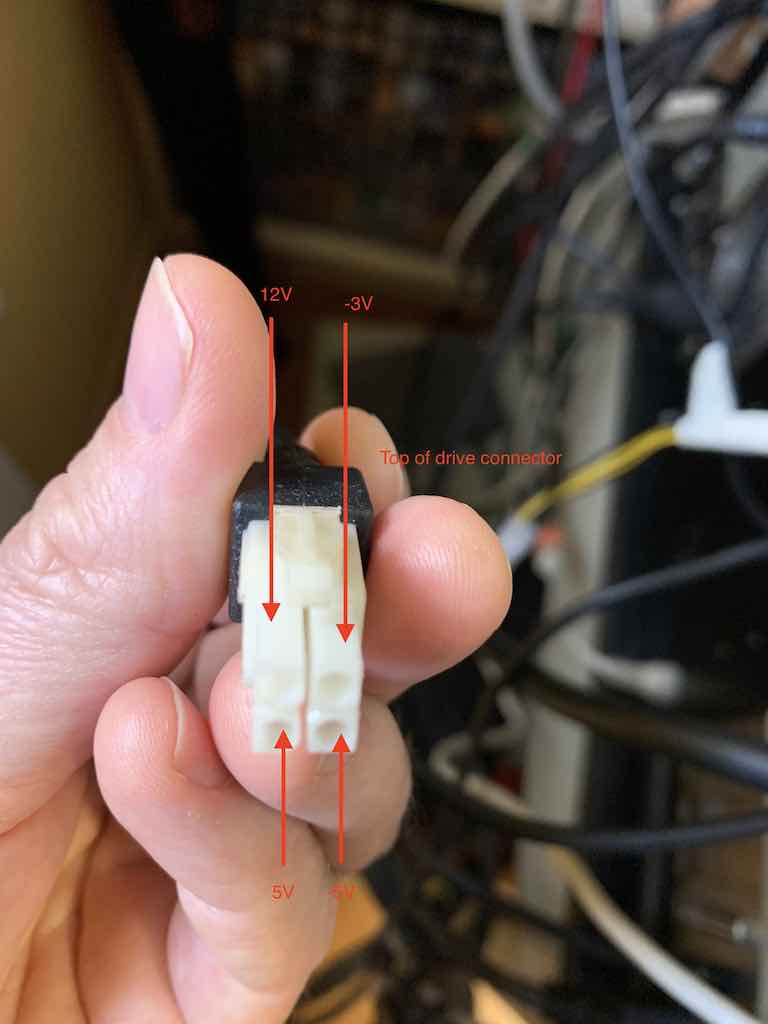
Voltages for the pins: 12V, -3V, 5V, -5V